
PLANTS | Monstera Moss Pole: DIY Moss pole for climbing plants

Monstera Moss Pole
DIY Moss pole for climbing plants
how to make a moss pole
DIY moss pole
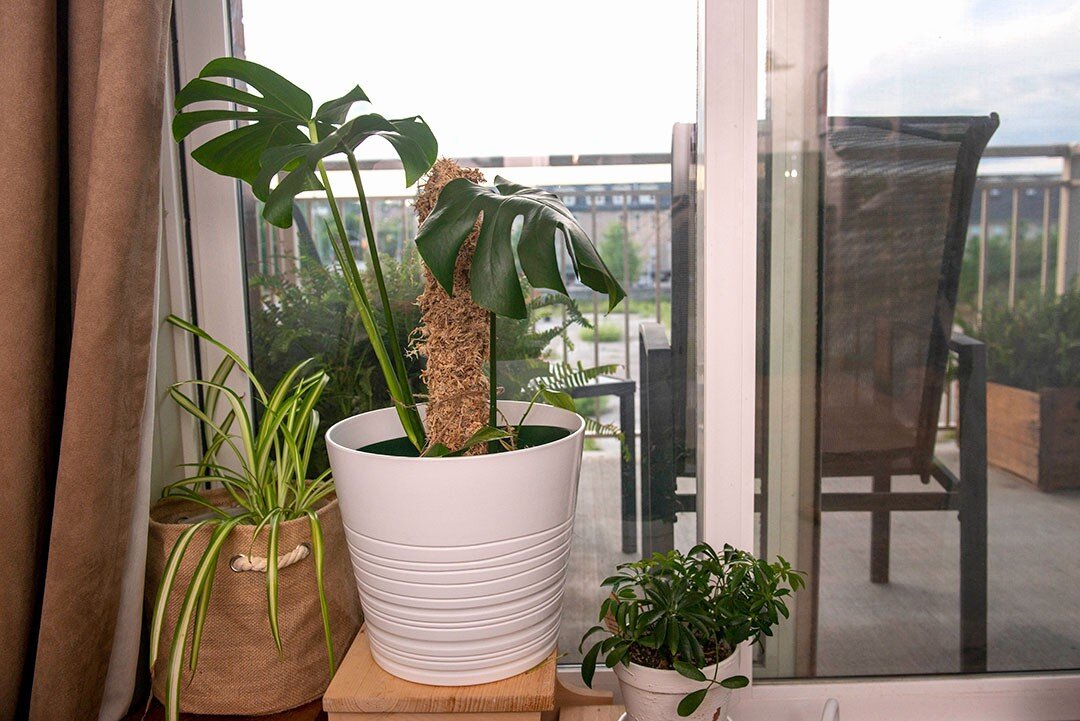
Is your monstera plant growing out of its pot? It might be time to add a moss pole to give your monstera space to climb.
This DIY moss pole is the perfect solution for your climbing plants! Follow these steps to make a moss pole for aerial roots to cling to!
Full disclosure: I will receive a small compensation if you purchase any of the linked products. The fees earned from this help contribute to the running and management of this website.
Don’t have the time to make your moss pole? Purchase one off amazon.


materials needed:
2). Sphagnum moss
3). bucket to soak moss (use the kitchen sink if you don’t have a bucket!)
4). A pole, I used a wooden dowel, metal or pvc can work as well
OPTIONAL SUPPLIES
5). Screw
6). Drill
Out of materials? Scroll to the bottom of this post for links to purchase supplies
getting STARTED

1) soak moss
Soak your sphagnum moss.
It took longer than I expected for the moss to absorb the water. I put mine in and then went off to other tasks to kill the time.
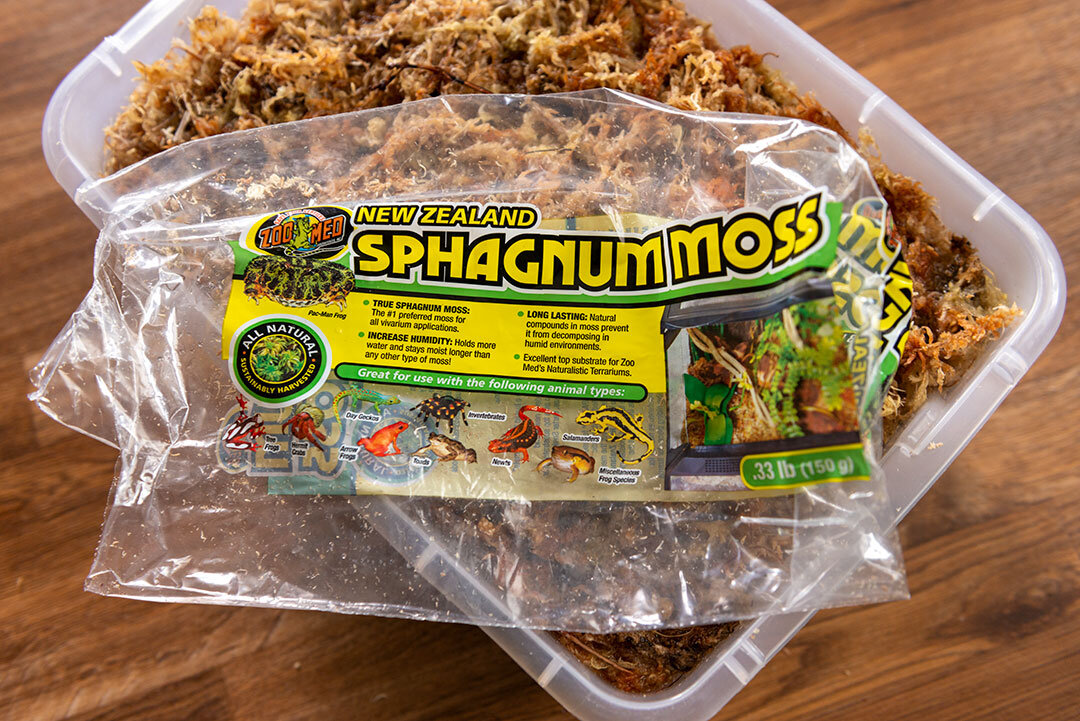
Why use sphagnum moss as plant support for climbing plants?
1. Sphagnum moss is SUPER absorbent so it’s great for someone like me that forgets to water every once in a while.
2. I knew that it would be some time before my monstera plant completely covered the moss pole and the sphagnum moss matches my wicker baskets :P… do it for the aesthetics

2) DECIDING WHERE YOUR POLE WILL GO
I put my pole in the corner of my pot so I didn’t have to disturb any roots when repotting.
If you can split up the roots, the middle of your pot will be the sturdiest.
TIP: Don’t screw this in until after you drill your holes :P.

3) prepare your pot
IF YOU’RE USING A POT WITHOUT HOLES, you will need to drill some for drainage.
PRO TIP: Make sure your holes large enough for proper drainage. I recommend anywhere between dime and quarter size.
Normally, I would have bought another nursery pot to fit inside this white one… but since everything is closed due to the coronavirus pandemic, I opted to make do with what materials I had!

4) secure pole
Secure the wood pole with a screw.

5) weave wire
Weave your chicken wire into a cylinder. I gave about 1 inch of space on either side of my pole, giving lots of room to fill with moss.

6) start filling
Start filling the wire with moss.
HOT TIP: keep your moss loose. Packing too tight will make it challenging for your roots to penetrate.
I started filling with moss at the same level as the top edge of my pot (at dirt level). The bottom half of your pole will be buried in the soil, so there is no sense filling it with moss.

7) Keep filling
Get creative in how you fill. I tried filling from the top and using a wooden dowel to push the moss down. After a while, I just started stuffing the holes using my fingers (that’s what she said).

8) close off the top
Pinch the top together to close off the end of your moss pole.
9) Pot your Plant
Tie stems to your moss pole.

Shop: Concrete planter pots

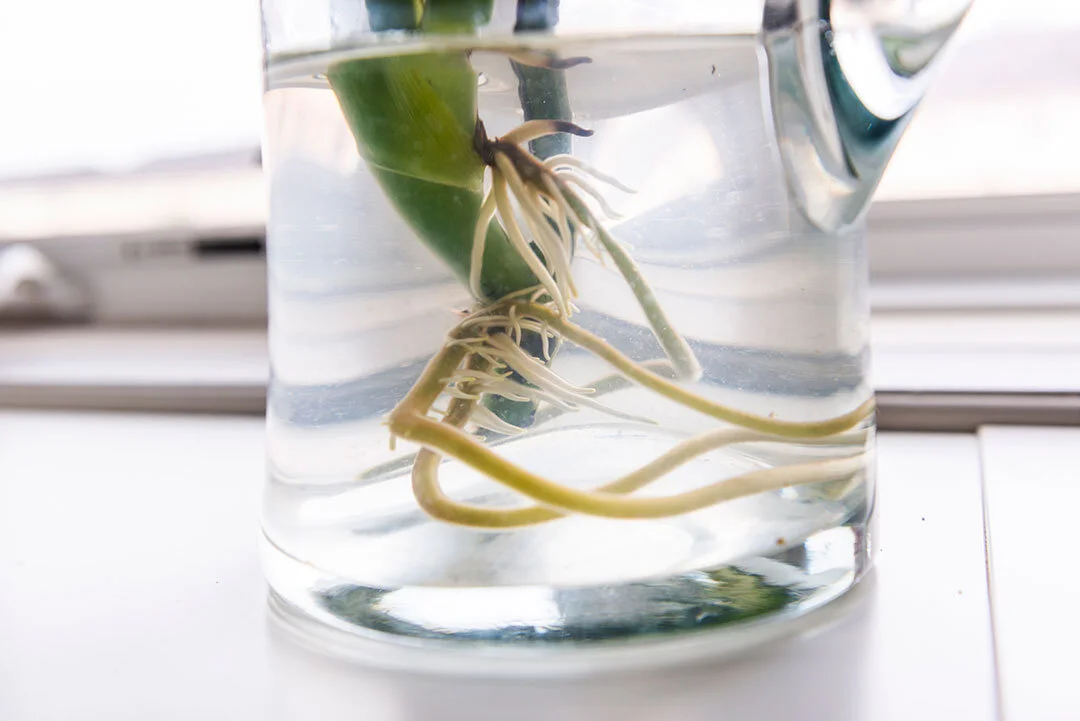
HOW TO PROPagate monstera delicosa
How to propagate the swiss cheese plant and FAQ on propagating Monstera Deliciosa.

Custom maps & posters
The place you grew up, spent college years or went on a trip. Remind yourself of that special place with a beautifully designed custom map from Grafomap.

Cheap apartment greenhouse
I made an inexpensive upgrade to my indoor greenhouse. See what I was using before and after.

Read about why I started this blog, and more about me and my regular 9-5.
out of supplies?
click any of the links below to order items online.


archive
Category
Author

Contact
out of materials to make a moss pole?
click any of the links below to order materials online.
How to propagate monstera deliciosa
My successes with propagating swiss cheese palnts.
Frequently asked questions on propagating Monstera Deliciosa.
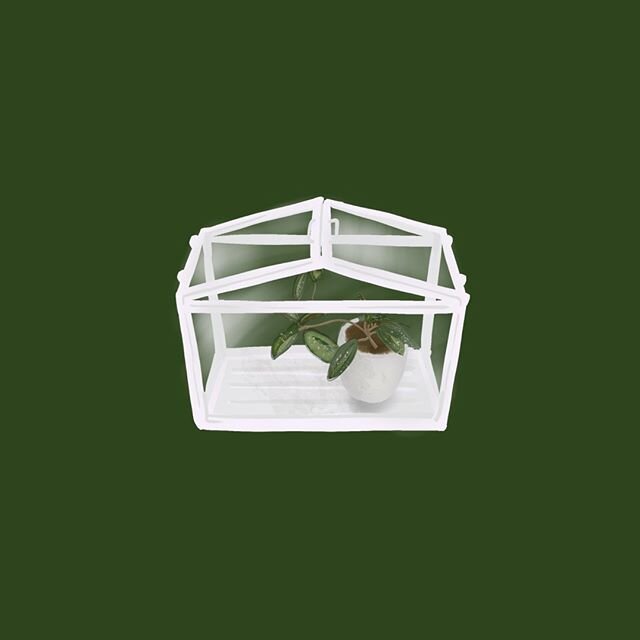
Cheap greenhouse idea
I made an inexpensive upgrade to my indoor greenhouse. See what I was using before and after.
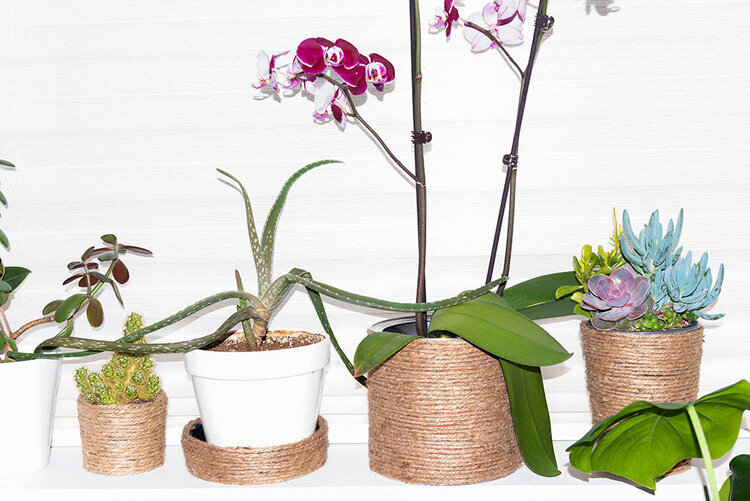
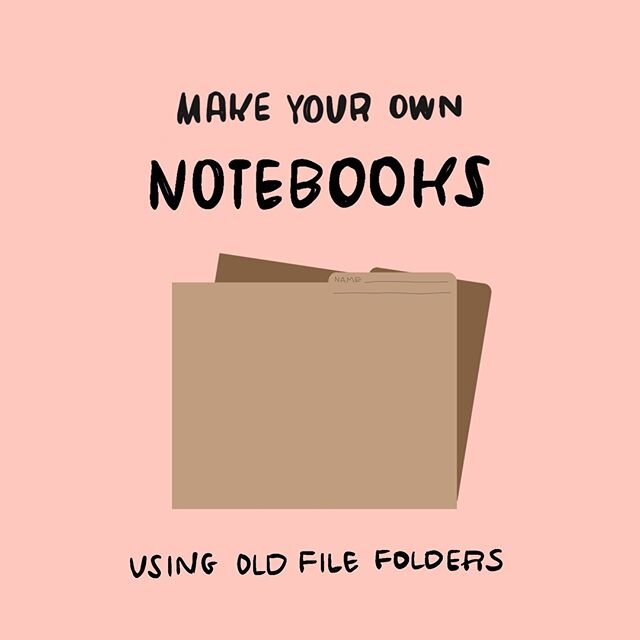
Do-it-yourself rustic planter pots
Reduce, re-use, and recycle! Turn take-out, yogurt, coffee containers (anything you want really) into a home for your plants. Make your own plant holder with a low budget and only a limited number of supplies.

Latest Posts


Get inspiration for making a Christmas tree for a small space. This wall hanging christmas tree screams boho vibes and is great for a small space like an apartment, condo, or university residence!