
DIY CRAFT | DIY Christmas, Minimal Boho Christmas wreath

Happy Holidays!
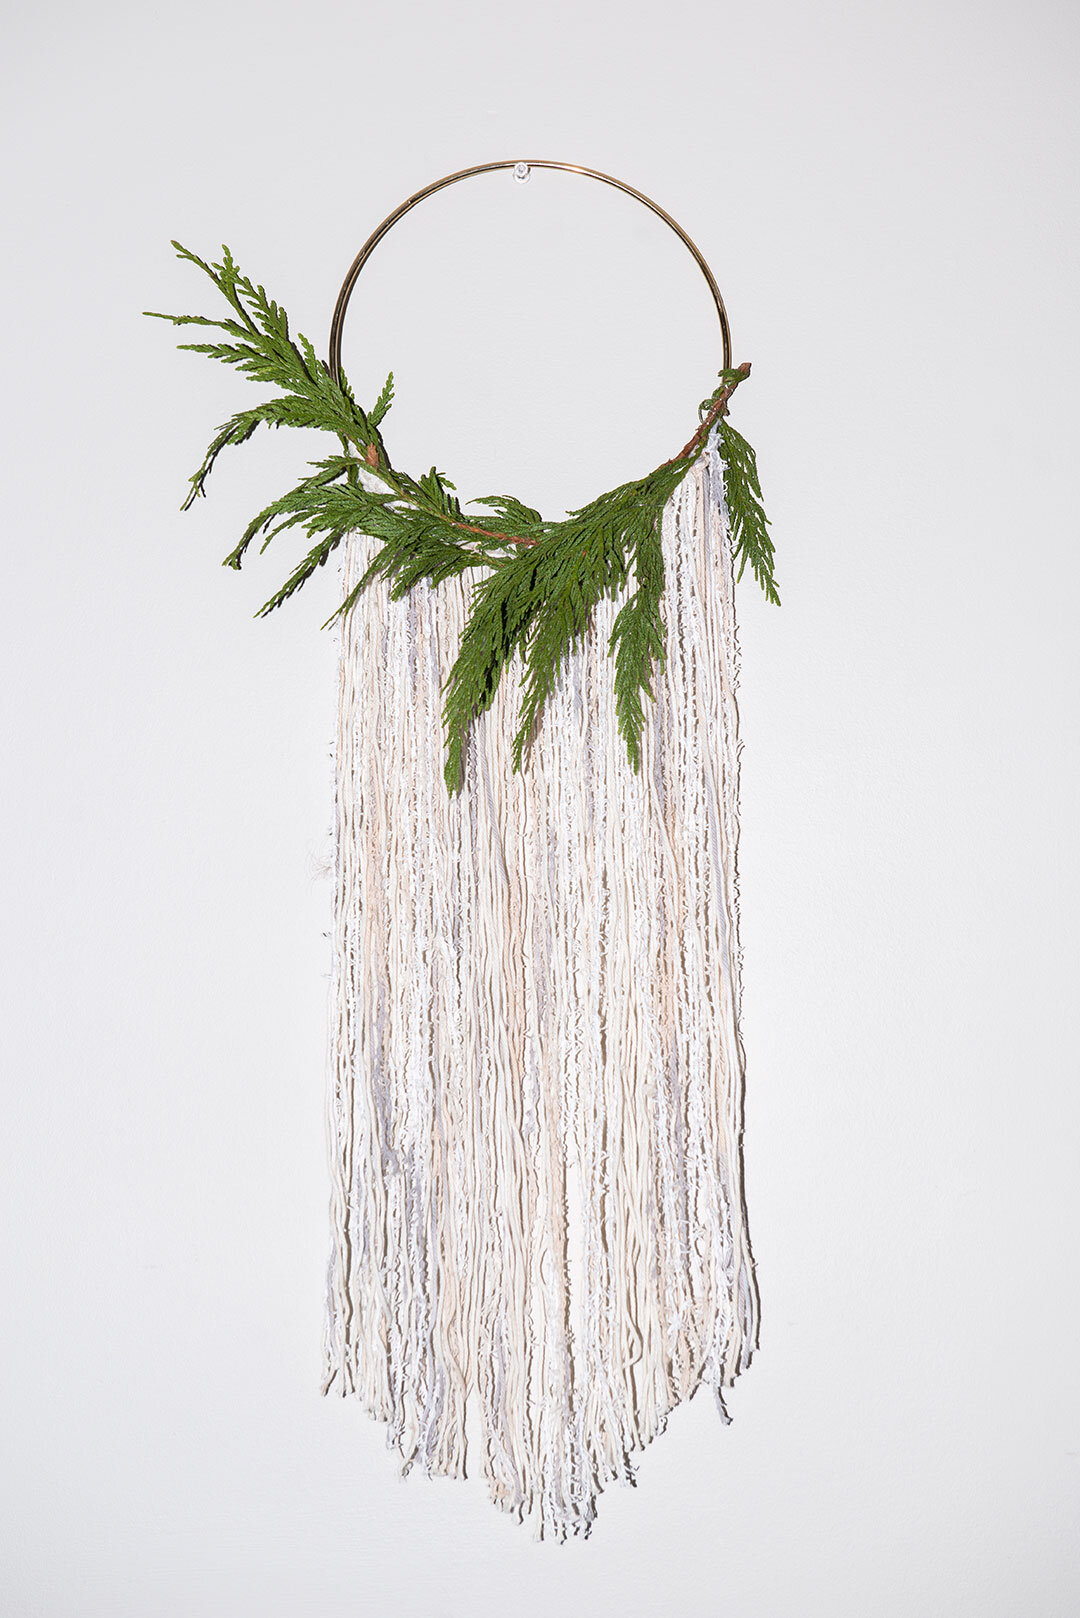
DIY Christmas wreath
How to make this boho Christmas wreath
Looking for quick and easy Christmas decor ideas? Learn how to make this fast and simple boho holiday wreath with just a few supplies. Remove the natural elements and keep it up all year long!

supplies you will need:
OUT OF SUPPLIES?
CLICK ANY OF THE LINKS BELOW TO ORDER MATERIALS ONLINE.
Full disclosure: I will receive a small compensation if you purchase any of the products at the links below. The fees earned from this help contribute to the running and management of this website.


Steps for making the wreath:
Follow these steps to make your wreath.

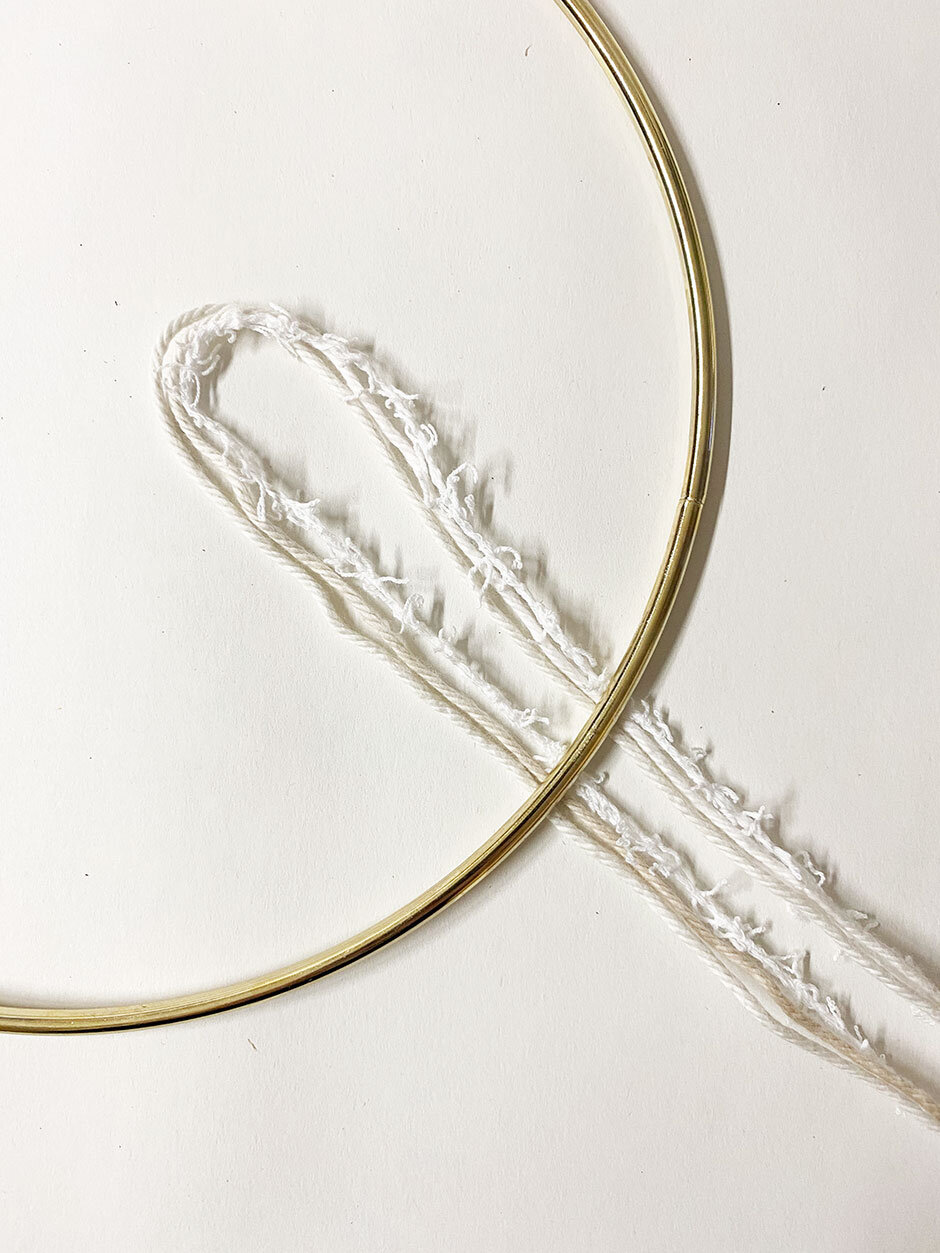
1. measure your macrame cord
Cut a bunch of equally sized strings.
Rather than cutting a bunch of pieces individually, I looped 1 metre sections around my fingers and cut a bunch at once.
The photo on the left shows both ends of my macrame cord after I looped it around my fingers.

2. cut to length
Cut the loops at each end.
The result will be a bunch of 1 metre long pieces of macrame cord.

3. Break out sections of 3
From your large pile of strings, break away three strings.
Fold them in half.
4. Tie a larks head knot
Step 1/4: After you have folded your string in half, put the string under the metal ring.

5. Tie a larks head knot
Step 2/4: Take the end of your string and feed it underneath the loop.

6. tie a larks head knot
Step 3/4: Pull the end of the string towards you

7. tie a larks head knot
Step 4/4: Pull the string and tighten.
Technically we did a backwards larks head knot…
You will have to turn your wreath over to see the knot OR during Step 1/4 you can put the string overtop the metal ring rather than under.

8. REPEAT LARKS HEAD KNOT
Repeat larks head knots across the diameter of your metal loop.

9. trim ends
Cut the ends of your macrame cord with a pair of sharp scissors.

10. Trim ends
I decided to trim mine in a V-shape.
I eye-balled mine but if you wanted a perfect V you can count the number of larks head knots to find your center point.
Cut at whatever angle you like!

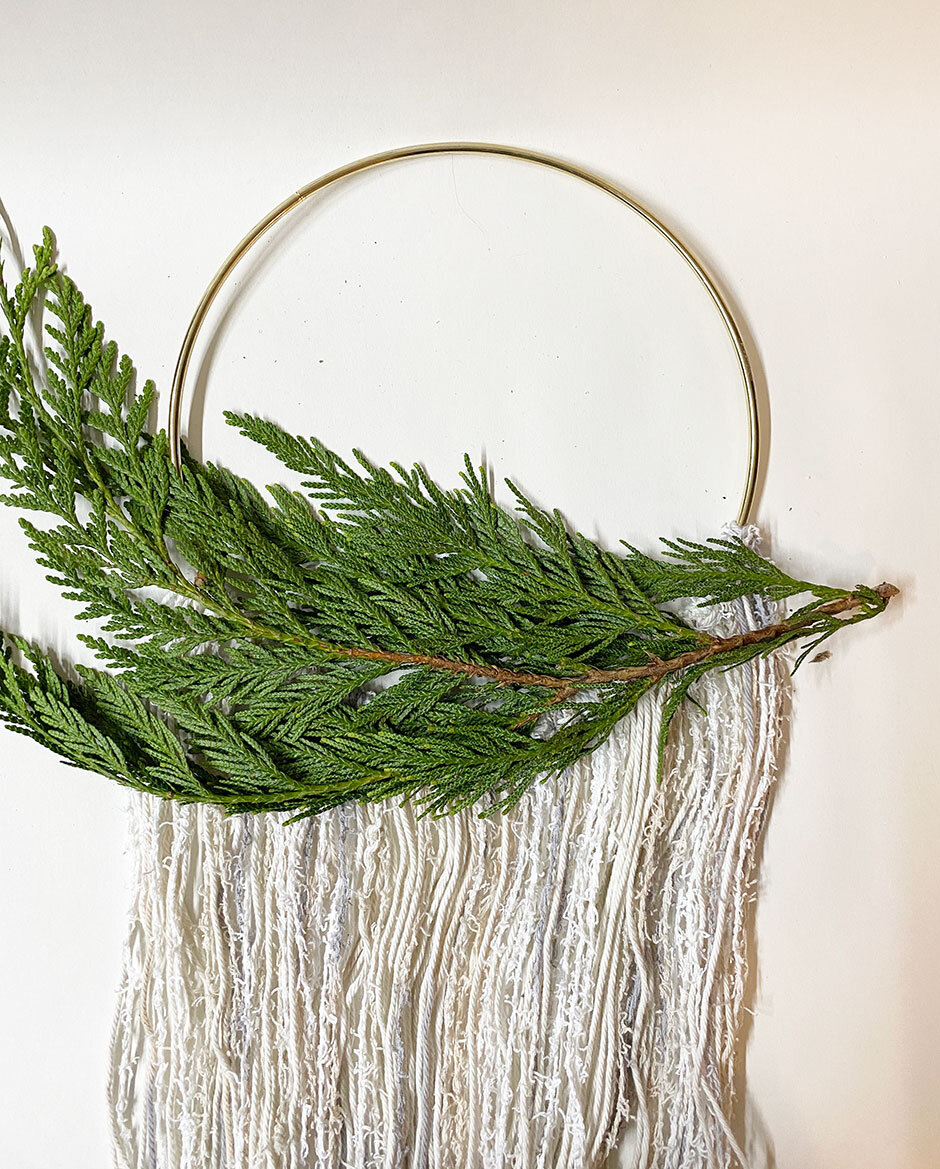
11. Add natural elements
Gardening wire can be used to attach your natural element to the metal hoop.
You could also use hot glue. The advantage to using gardening wire is that you can remove the natural element after Christmas and keep the it up year long.

Gardening wire can be used to attach your natural element to the metal hoop.
The finished product!


Thank you!
Thank you for taking the time to visit my page! I hope you enjoyed this to boho Christmas wreath tutorial. I’d love to see what you create!
Please tag/hashtag me in your creations on Instagram!!! @bresourceful_ #bresourcefulDIY
This post also contains affiliate links and I will get a small compensation if you make a purchase after clicking on my links. The fees earned from this (should I ever actually make a buck :P) contribute to the running and management of this website.


archive
Category
Year

Contact


See pictures from Tulum beach in Mexico.

See my indoor greenhouse and what’s growing in it!


the kitschiest place on earth
See pictures from South of the Border; the kitschiest place on the planet.
- COVID CRAFTS
- how to
- climbing houseplants
- craft
- Beaches
- about me
- make your own moss pole
- swiss cheese plant
- Beach
- diy
- house plants
- mayan ruins
- support for climbing plants
- handmade
- welcome
- notebook
- ad
- Personal
- climbing plants
- Monstera
- Moss pole
- aerial roots
- diy moss pole
- ocean
- puppy
- notebooks
- Riviera Maya
- tropical plants
- United States
- easy way to make a moss pole
- make-over your monstera plant
- Christmas decor
- holiday
- South Carolina
- hemp
- SC
- national park
- planter
- first post
- USA
- TRAVEL
- Notebook
- cenote
- snorkel
- Photo gallery
- monstera deliciosa
- sponsored
- SOTB
- vining plants
- Travel
- home and garden
- support for aerial roots
- DIY
- South of the Border
- beach
- Mexico
- tulum
- affiliate


Recent posts


Get inspiration for making a Christmas tree for a small space. This wall hanging christmas tree screams boho vibes and is great for a small space like an apartment, condo, or university residence!